Child-Site Activation Process
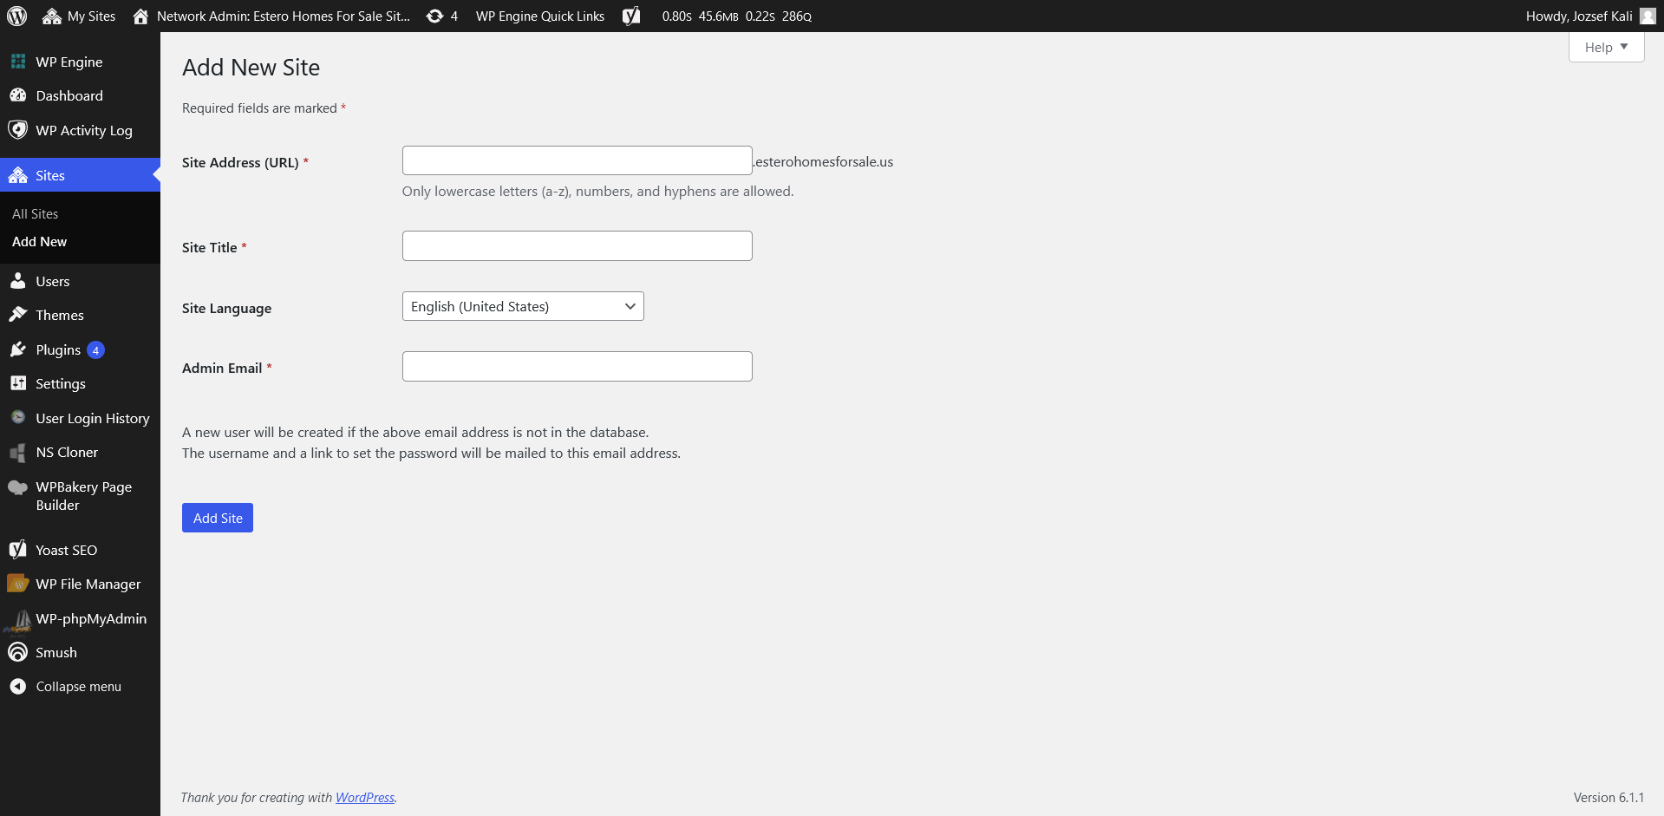
- Clone your respective WordPress parent site via the NSCloner plugin
- For the field “Site Address (URL)” you may add name for a new multisite
- For Example: (www.bobbyshomes.example.com)
- For the field “Site Title” you may add any title.
- For the field “Site Admin” you may add the site admin that is also the main admin on the parent site. It’s recommended the site admin for the child site match as well.
Pre-Steps: Create Site Install With Your Existing Hosting Provider
- In order for the multisite to work properly on a dedicated domain you must first deploy the new site in your hosting environment.
- For Example: WP ENGINE (Add New Site)
- You must have an existing CNAME or alternate available on your hosting environment first and then set a primary domain to be your hosting environment.
- Once you have your desired primary domain set you may forward your existing CNAME to your newly created primary domain.
- Add a record under the primary via an address that isnt being used from the desired child site name (www or https)
- For example: if you have a childsite called www.realestateusa.com be sure to add the https record under the primary and not the www record in use
Change Multi Site Domain To Primary Domain (Child Site Domain)
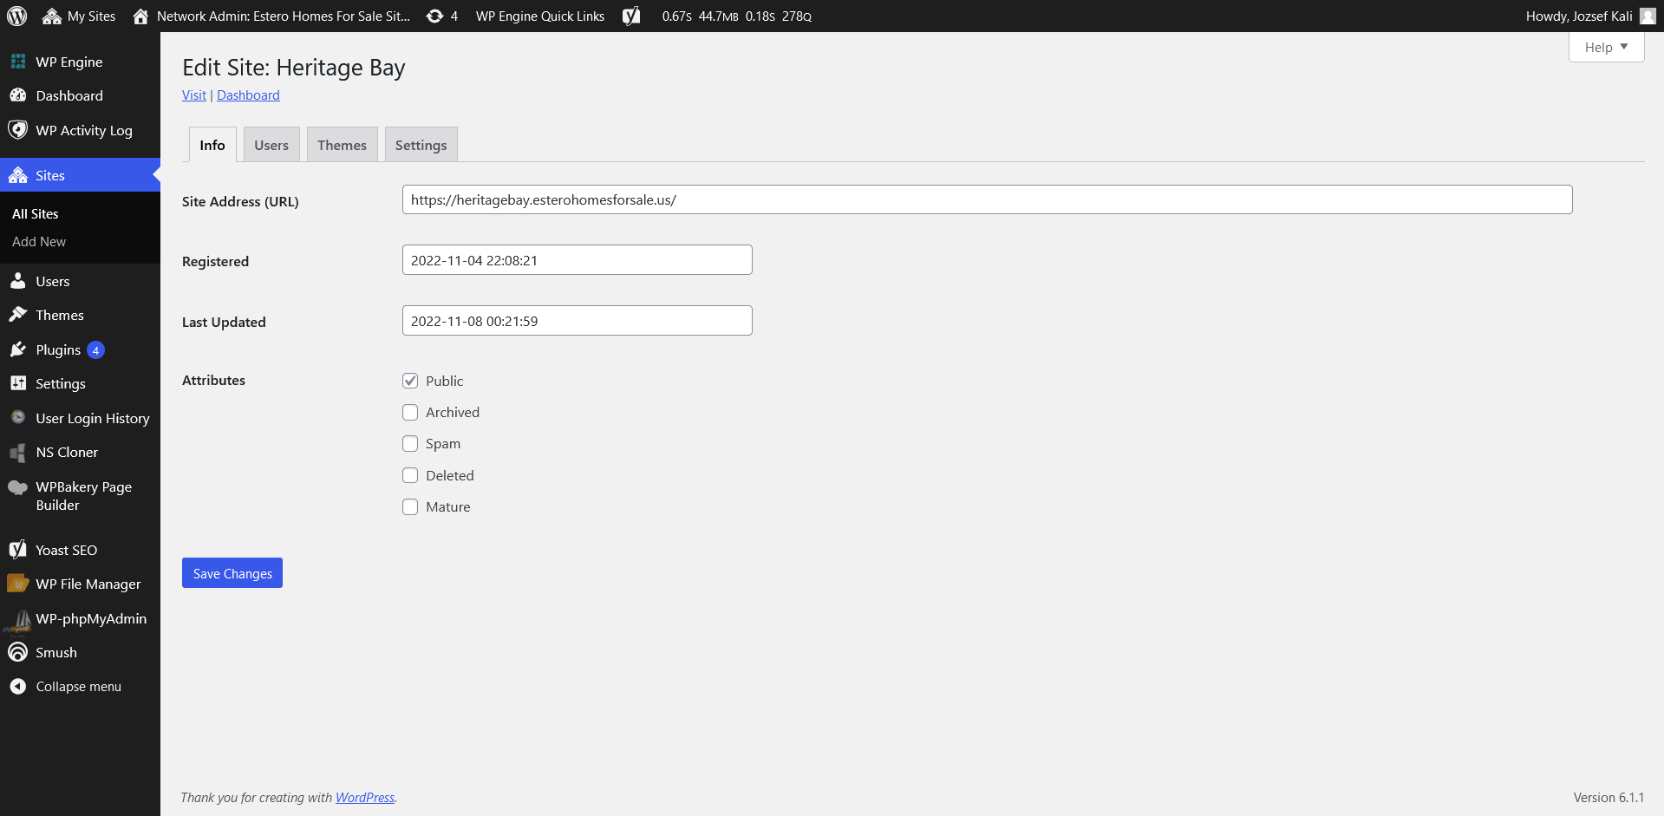
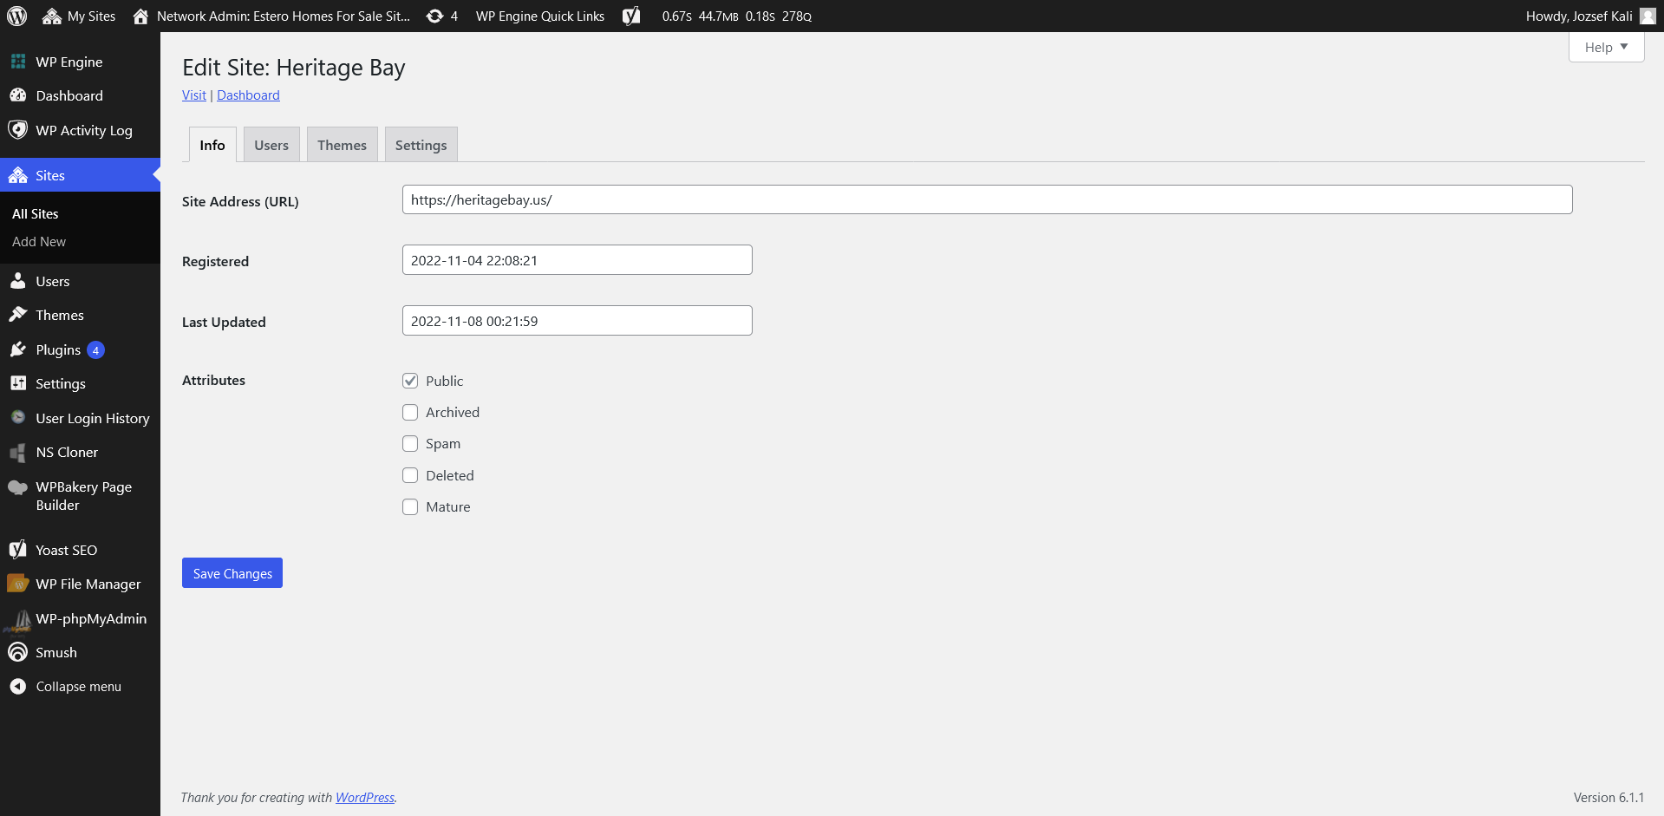
- Change the “Site Address (URL)” to your desired primary domain address.
- For Example: the new address below show turn into something like this: (www.heritagebay.us)
- It’s important to note you must own this domain and it must be deployed via your hosting provider with the proper @ (A Record) IP Address provided from your hosting provider inside your DNS Zone Mapping Files for your particular domain.
Login to the new child site and navigate to WPL > Franchise Add-On > Listings Options > Listing Select Options > Target should include:
- “Self Blog”
- “Parent Domain”
Cloned sites often contains files that were necessary for the parent site to function such as listings data. These files are not necessary for child site installs. These leftovers from the parent on the child are recommended to be removed to lower child site install size and bandwidth usage to comply with your hosting capacities limitations. These files can be easily found via the site directory or via SFPT here:
WP-Content > Uploads > (Any Folders with the name “WPL,” “WPL1,” “WPL2,” “WPL3” etc)
To accelerate the deletion process due to the large amount of files please contact your hosting provider to manually delete these files via Linux CLI.
Important Notes
IMPORTANT NOTE #1: Performing the above steps will place the exact shortcodes on the child site used in the parent site so you need to change them according to the business goals of the child site.
IMPORTANT NOTE #2: Performing the above steps will duplicate any API keys such as Google Maps, Twilio, and reCAPTCHA into the child site that was used in the parent site so you need to generate new unique API keys for the new child site as well.
IMPORTANT NOTE #3: If you got the error “You don’t have access to this part!” on the listing page after the child site activation process, Go to database > [wp_prefix]_wpl_users table and set the “Guest” user’s id to 0. See the attached screenshot.


